This June, YouthCenter introduces three key updates to improve program tracking and user access. Administrators can now tailor outcomes for each program, streamline intake by auto-enrolling residents in default programs, and simplify report scheduling with enhanced subscription tools. Also, jurisdictions with multiple sites can now share user access across locations, reducing redundant accounts and management overhead. This update is scheduled to go live on 6/1/2025 at 11 PM ET (Click here to see the time in your timezone).
Program Outcomes
Our initial release of Programs and Program Outcomes included a listing of outcomes common to all programs. Based on user feedback, we’re allowing for different program outcomes tailored to each program.
Adding an Outcome Type
Administrators can add an outcome type by going to:
Administration > Picklist Admin > Program Placement Outcome Type
Give the outcome type a name, an optional description, a style for display, and choose the programs the outcome should be associated with.

Adding an Outcome Type to a Program
If an outcome type has already been added to YouthCenter, an administrator may also add it to the Program by visiting Administration > Picklist Admin > Program and selecting a program.
Choose the outcome type in the program editor:

NOTE: By default, all your current programs will have the current outcomes associated with them.
Detention/Residential: Auto-Enroll Residents in Programs on Intake
With the recent enhancements to programs and their use in Detention and Residential placement, we have received requests to enroll residents in specific programs upon intake automatically. For example, if all of your residents need to be a part of your behavior management system (BMS), you will no longer need to add them to the program manually.
Setting up Auto-Enroll
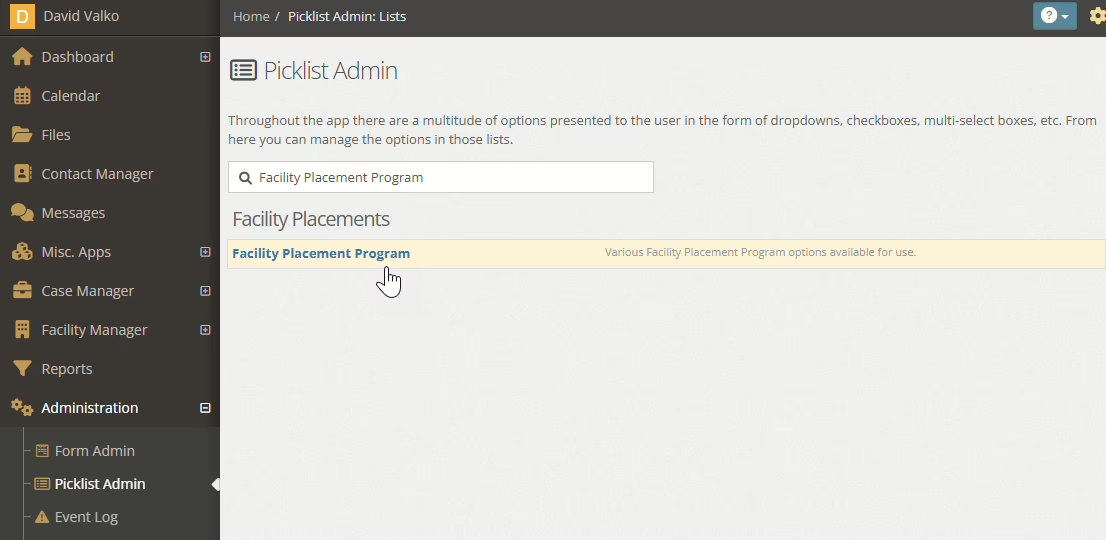
Administrators can assign a program for auto-enrollment in a Facility Placement Program by going to:
Administration > Picklist Admin > Facility Placement Program, and selecting a facility placement program, or creating a new one.
When adding or editing a Facility Placement Program, select from the list of programs you want to be auto-enrolled (Default Programs) and save the Facility Placement Program.
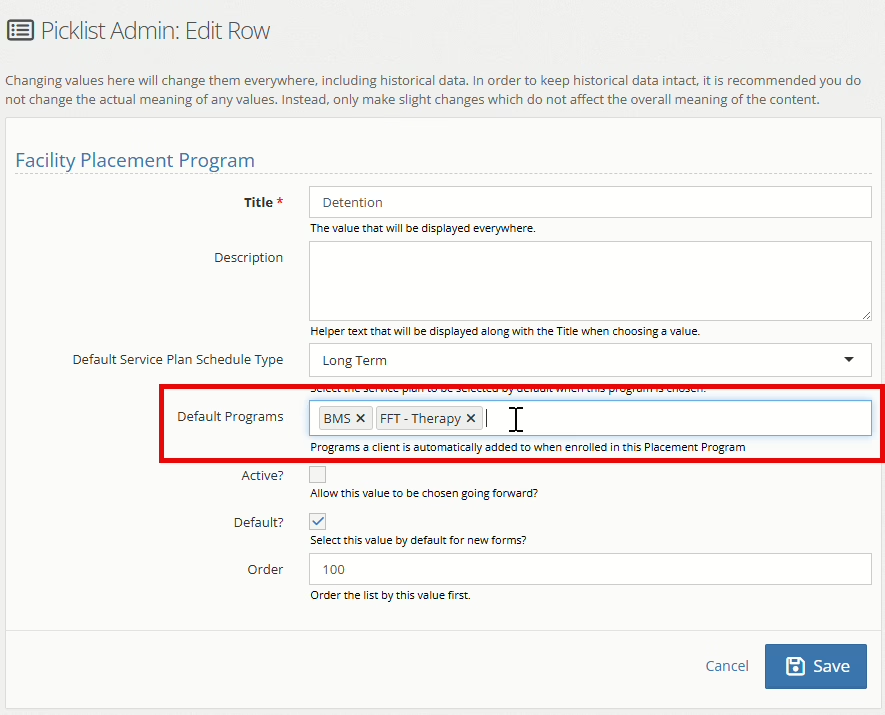
The next time a resident goes through the intake process, the programs will be added to their program list automatically.
NOTE: Existing residents will not have the new default program(s) added to their program. Only new residents will have them added.
Report Subscription Migration
As we continue the transition of reporting to the new interface, this next phase of the migration includes moving report subscription management.
Managing your report subscriptions can be done by going to Reports, then using the down caret next to the report and selecting “Subscribe to this Report.”

Report subscription tools include the ability to subscribe yourself, subscribe others, choose what format to receive the report (CSV or a link to the report), the start and end dates, and cadence.
To add a user to the subscriptions, choose the user from the folder list or simply type their name, select their name from the list, and click the → to move them to the selected people window.

Once you’ve selected your format and schedule, press save to lock in the report subscriptions.
NOTE: New to this update is the ability to choose the times the report will be sent. Future updates will allow for more options and display in your timezone.
Unsubscribing from a Report
From the Reports menu, look for the “My Subscriptions” heading. Find the report you want to unsubscribe from and click the down caret.

Select the Unsubscribe option, and you will no longer be subscribed to the report.
NOTE: If other users are still subscribed, they will still receive the email.
Deleting Subscriptions For An Entire List
If you have created a subscription, you can also delete the subscription for all users. From the Reports page select the Delete Subscription for All from the caret menu next to the subscription you wish to delete.

Shared Users
Where jurisdictions have multiple sites that need to share users between them (for example, a Court and a separate site for a Detention Center), previously, both sites would require a user for each site. Shared users enable the setup of a user on one site, allowing access to another connected site without the need for a separate user account.
Setting up connected sites
To set up a connected site, you will need to contact support and request to connect sites. Approval by both instances’ administrators will be required to connect the sites.
Adding users to a connected site
Once the sites have been connected, as users log in to their primary site, a connected user will be created on the connected site. The new user created on the connected site will have no permissions, and their status will be set to “Disabled.” The connected users will have a “Connected Site User” tag in the user listing to denote them as a connected site user.

An administrator of the connected will need to add the appropriate permissions to the connected user and set the connected user’s status to “Active.” You will not be able to modify any other options of the connected user, as those items are controlled by their primary site.

Logging into a connected site
Once a user has been set up on the connected site, the user will log in to their primary site, and a Site Connections menu item will be available in their YouthCenter menu. To change sites, they will click the site name in the menu listing to be automatically logged in to the connected site.

To return to the primary site, click the site name in the Site Connections menu.
NOTE: A connected user cannot log in to a connected site by visiting the connected site’s URL. They must log in to their primary site and use the Site Connections link in the menu.
Disabling a connected user
If a user is disabled on a primary site, their access to the connected sites will automatically be turned off. An administrator of the Connected Site may choose to set that Connected Users’ status to “Disabled,” however it is not required if the user is disabled on the primary site.
Providing Feedback
As always, YouthCenter continues to be a solution built for and directed by your needs as caseworkers, JPOs, administrators, and more. Your feedback is very valuable. If you have any thoughts or ideas on how we can improve the software, please contact us via our suggestion form. New ideas are reviewed on a bi-weekly basis.